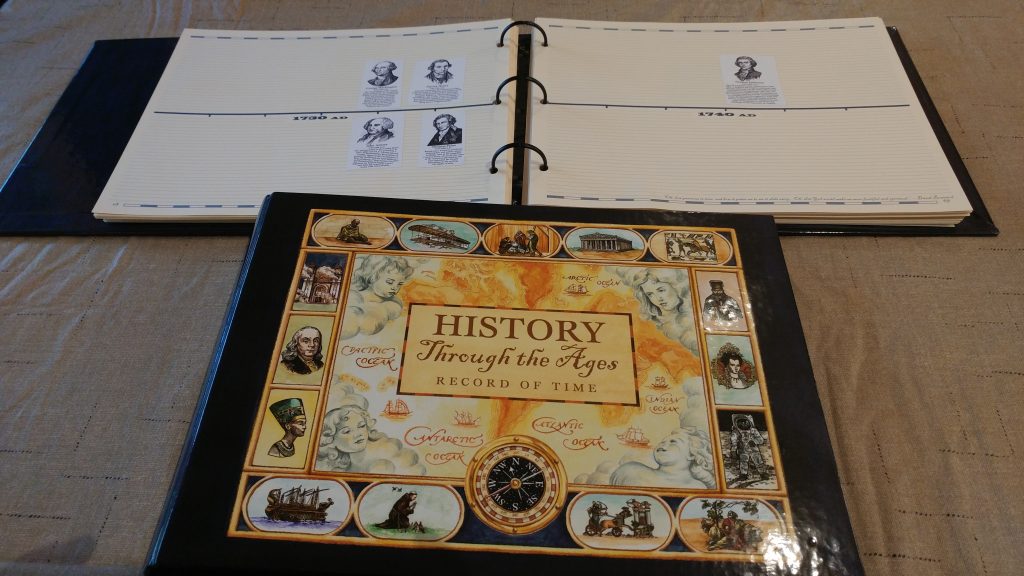
My children are growing and it is time to start building a history timeline. After doing a bit of research, I decided I would like the notebooks from Homeschool in the Woods. We do not have a lot of wall space. Instead, we have lots and lots of windows. We already have paintings and pictures sitting in closets, for lack of space to hang them. So a keepsake notebook kind of timeline is what fits our family best.

Beautiful timeline notebooks from Homeschool in the Woods
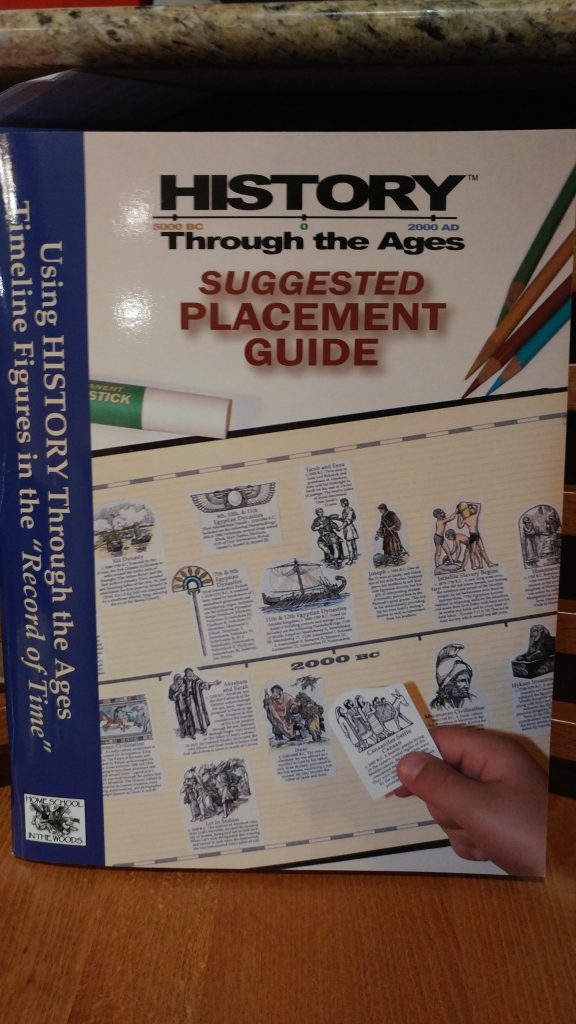
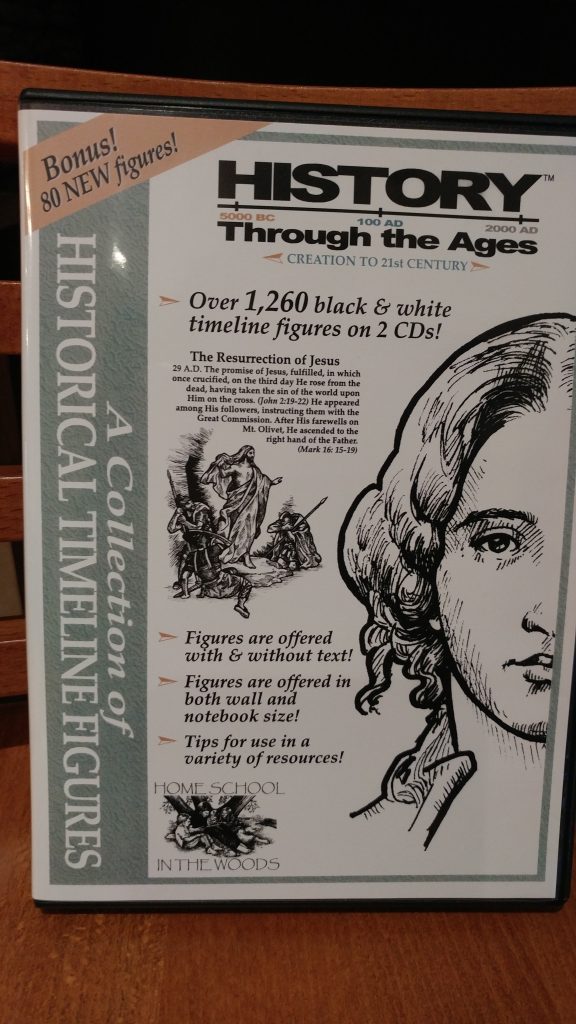
I bought each child a binder, the CD with all the figures, and the guide on how to place the figures. Looking back on it, I could have done without the guide, but when you don’t know how to even begin this project, you want to get all the help possible.

The placement guide helps you arrange the stickers on the page.
We are in the middle of volume 3, Story of the World, which means we started sticking our figures from 1700s on. We will continue through modern and contemporary history in volume 4 and then we will start with the Ancients all over again.
The best way for me to arrange these figures on the timeline was to buy Avery label sheets – a pack in which the entire 8.5×11 page is one big sticker. It feels like a waste, but it’s not. When you consider that we will be building this notebook for the next three years, the wear and tear on it becomes evident.

The 2-volume CD contains PDF pages with figure for your timeline.
I have spoken with other homeschoolers who tried to glue pieces of paper and it either did not look right or they peeled off. Who wants to work twice when you could work once?
We have already started and I can see there will be some important places, people, and events that will be missing from the pack, but I can always research them separately. There are plenty for us to be busy for now and we can always add others later.


